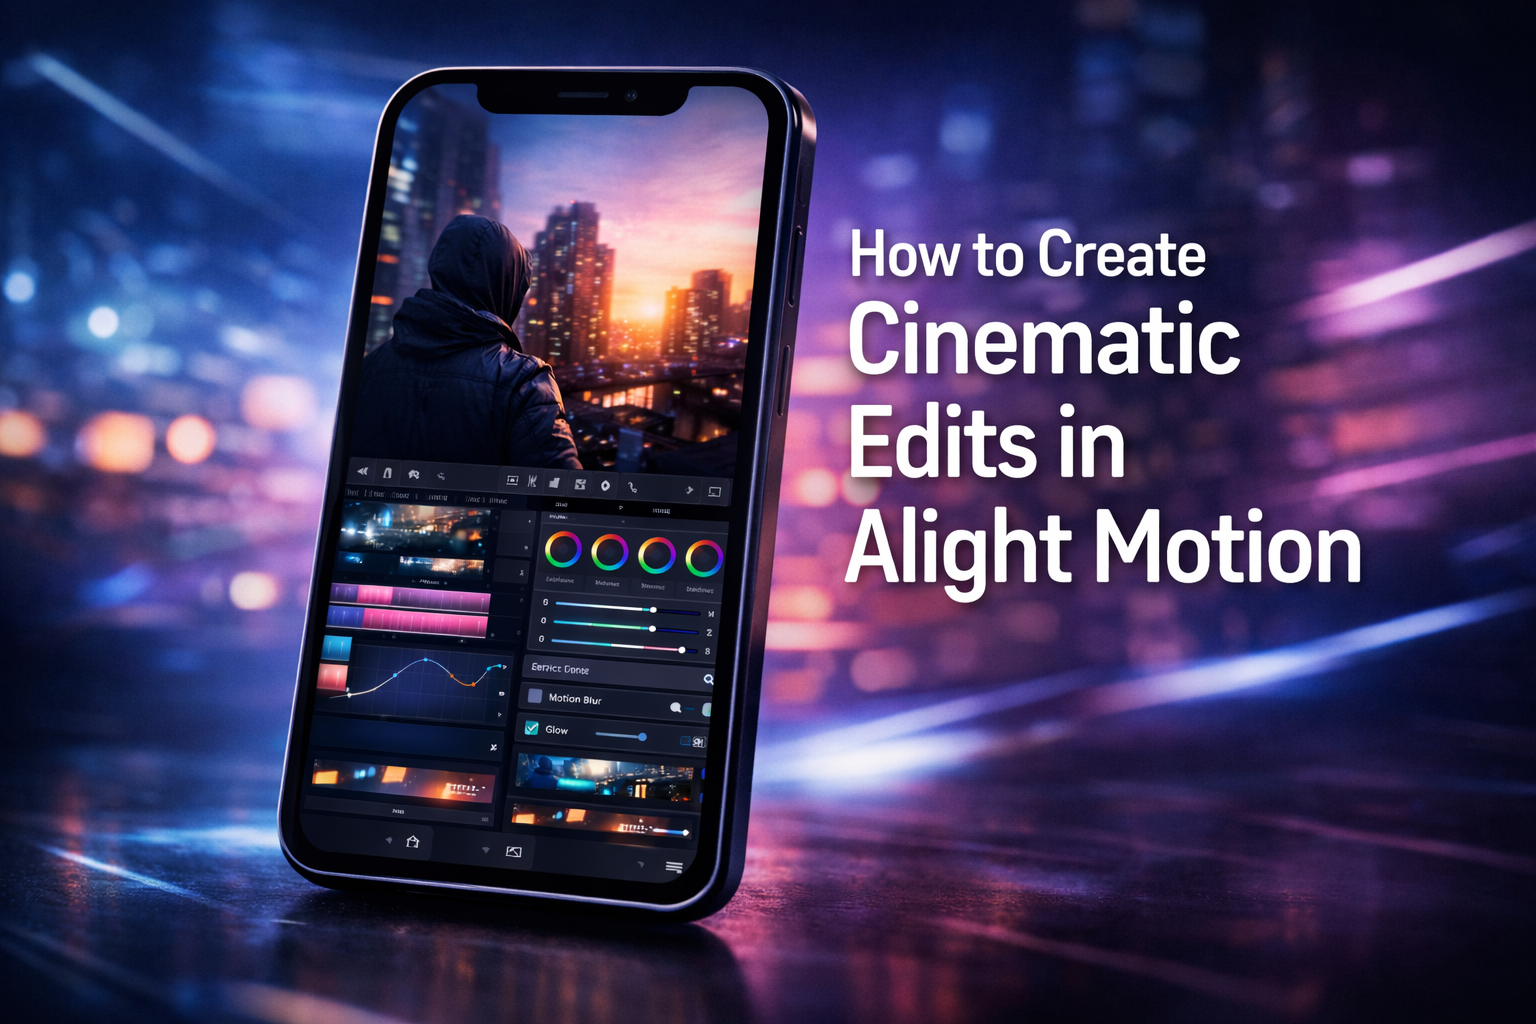
How to Create Cinematic Edits in Alight Motion: Step-by-Step Guide for Smooth, Professional Results
Cinematic edits in Alight Motion are not about adding the heaviest effects or using flashy transitions everywhere. A cinematic look comes from smooth motion, clean pacing, balanced colors, and a consistent visual style that makes the video feel more polished and intentional.
If your edits look too sharp, too fast, too messy, or too “effect-heavy,” the problem is usually not the app. It is usually the workflow. In this guide, you will learn how to create cinematic edits in Alight Motion step by step, including the best settings, motion techniques, color tips, transitions, and export choices to make your videos look more professional.
What makes an edit look cinematic in Alight Motion?
A cinematic edit usually feels controlled, smooth, and visually consistent. It does not rely on random movement or stacked effects. Instead, it uses a few strong elements well.
The first element is smooth motion. Subtle zoom-ins, slow pans, and carefully placed keyframes make the video feel more premium than aggressive movements that distract from the scene.
The second element is pacing. Cinematic edits are not always fast. Some clips need time to breathe. Some moments need slower cuts to build emotion, while others need tighter timing to create energy.
The third element is color. When the tone of one clip matches the next, the whole edit feels more unified. If each clip has different brightness, saturation, or warmth, the final result feels inconsistent.
The fourth element is restraint. Many beginners think cinematic means more blur, more transitions, more shakes, and more glow. In reality, cinematic edits often look better when the effects are lighter and more deliberate.
Best project settings for cinematic edits in Alight Motion
Before you start editing, set up your project properly. Bad project settings can make even a good edit look weak.
For Reels, Shorts, and TikTok, 1080 x 1920 is usually the best choice. This keeps your video vertical and sharp enough for social platforms without making the project unnecessarily heavy.
For frame rate, 30fps is a strong option for storytelling-style cinematic edits. It feels natural and is usually easier for most phones to handle. If you want smoother motion, especially for velocity edits or slow-motion style movement, 60fps can work better. Just remember that 60fps can be heavier on weaker devices.
Always import the best quality footage you have. If your source clips are too blurry, shaky, or compressed, no amount of editing will fully fix them. Cinematic editing looks better when the original footage already has decent lighting and clarity.
It also helps to organize your clips before you begin. Keep your best shots first, remove duplicates, and decide what kind of mood you want before you start placing effects.
Step-by-step: how to create cinematic edits in Alight Motion
Step 1: Choose the right footage
The quality of your cinematic edit starts with the footage you use. Try to choose clips that already have good lighting, clean framing, and some natural movement. Walking shots, close-ups, slow turns, city scenes, nature clips, and emotional reactions usually work well.
Avoid using too many low-quality clips in one project. If one clip is clear and the next is noisy or badly exposed, the edit will feel uneven. Cinematic videos usually look stronger when all clips feel like they belong in the same mood and style.
If a clip is too shaky, think carefully before using it. A little natural handheld movement can feel real and immersive, but uncontrolled shaking often makes the final result look messy instead of cinematic.
Step 2: Trim clips for story flow
A cinematic edit is not just a collection of good shots. It should feel like each clip connects naturally to the next. Start by trimming out the boring or repeated parts and keep only the moments that matter.
Ask yourself what each clip adds. Does it show movement, mood, detail, or progression? If not, cut it. Strong cinematic edits often feel simple because only the most useful moments remain.
Try arranging the clips in a way that creates a visual rhythm. For example, you can go from a wide shot to a medium shot to a close-up. This keeps the edit more engaging than repeating the same kind of angle over and over.
Step 3: Add smooth keyframe motion
Keyframes are one of the biggest tools behind cinematic editing in Alight Motion. A small zoom-in, a slight pan, or a gentle reposition can make a static clip feel more alive.
Use motion with purpose. If the shot is emotional, a slow push-in can add intensity. If the shot is scenic, a smooth side movement can create a more immersive feel. If the clip already has strong motion, you may not need much extra movement at all.
The biggest mistake beginners make here is overdoing the motion. Very large zooms or constant aggressive movement usually make edits look cheap. Small, controlled movements almost always look better.
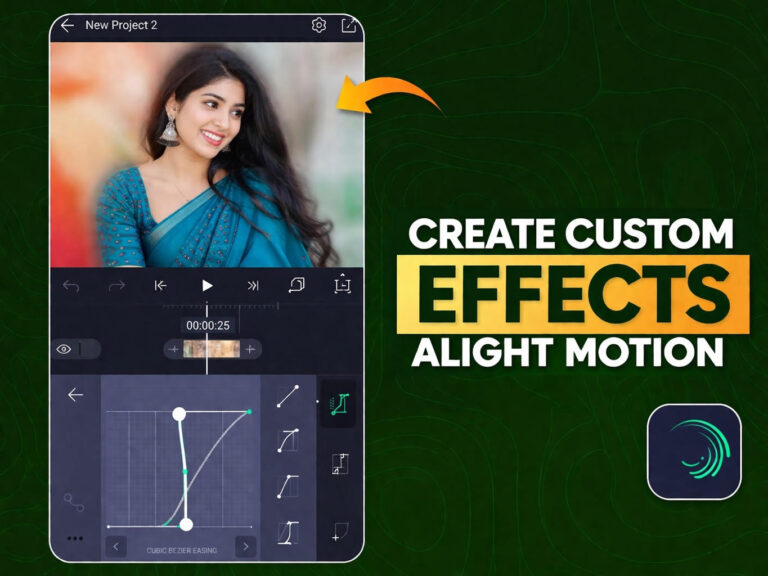
Step 4: Use easing for natural movement
Without easing, keyframe motion can look robotic. A clip starts moving too suddenly and stops too sharply. That is why easing matters.
Ease in and ease out make motion feel more natural. Instead of jumping from one position to another in a flat way, the movement flows more smoothly. This is especially important in cinematic edits because smoothness is one of the key things that separates a polished edit from an amateur one.
When you apply easing, watch the clip carefully. The goal is not to make the motion dramatic. The goal is to make it feel softer and more realistic.
Step 5: Apply motion blur carefully
Motion blur can make movement feel smoother, especially during zooms, pans, and transitions. Used lightly, it helps blend movement and adds a more fluid visual feel.
Used too heavily, it makes the entire edit look muddy. That is where many editors go wrong. They use motion blur to hide bad motion instead of improving the motion itself.
First make sure the movement is already good. Then add motion blur in moderation. If the clip starts losing detail or becoming too soft, reduce it. A cinematic look should feel smooth, not smeared.
Step 6: Build depth with layers and camera-like movement
Depth is one of the easiest ways to make an edit feel more premium. If everything in the frame moves the same way at the same speed, the edit can feel flat. But when foreground and background elements feel separated, the video feels more dynamic.
You can create depth by layering elements, using subtle movement differences, or applying motion that mimics camera behavior. For example, a slight background shift with a stronger foreground focus can create a more immersive effect.
This does not need to be complicated. Even simple movement choices can make the frame feel more cinematic when used with intention.
Step 7: Improve the color tone
Color plays a huge role in cinematic editing. If your clips all have different temperatures, contrast levels, or saturation, the edit will feel inconsistent no matter how good the motion is.
Try to keep your color tone unified. If you want a moody look, keep the colors slightly deeper and more controlled. If you want a warm cinematic feel, use warmth carefully and consistently. If you want a clean professional look, avoid oversaturation and extreme filters.
One of the most common problems is pushing the color too far. Too much contrast, too much orange, too much blue, or too much sharpening can make the edit look fake very quickly. Cinematic color usually looks intentional, not exaggerated.
Step 8: Add clean cinematic transitions
Transitions should support the flow of the edit, not steal attention from it. A simple fade, a smooth zoom transition, or a light whip transition can work very well when it matches the clip movement.
Try to use one main transition style throughout the edit. If every cut has a different transition, the video loses consistency. That makes it feel more like an effect showcase than a cinematic edit.
Also remember that not every cut needs a transition. Sometimes a clean direct cut is the best choice. Good pacing often matters more than adding extra movement between every clip.
Step 9: Match the edit to music or emotion
Timing can completely change how cinematic your edit feels. Some creators cut every clip directly on the beat, but cinematic editing is not always about strict beat matching. Sometimes it is better to cut based on emotion, motion, or scene change.
If the music is calm and emotional, slower cuts usually work better. If the music builds tension, you can shorten clips gradually. If the track has impact points, use those moments for stronger visual emphasis.
Watch the edit more than once without touching anything. Ask yourself whether the timing feels natural. If the video feels rushed, slow it down. If it feels lifeless, tighten the pacing. A cinematic edit should feel intentional from beginning to end.
Step 10: Export with the right settings
Once your edit is done, your export choices matter. For most creators, 1080p is the best balance between quality and performance. It looks sharp on social platforms and is easier to handle than heavier settings.
If your project is based on smooth movement, velocity, or motion-heavy transitions, 60fps can help. If the edit is more story-based and your device struggles with heavy exports, 30fps is often enough.
Before final export, preview the full video carefully. Check whether any transition feels too strong, any clip looks too dark, or any motion feels too sudden. Small issues are easier to fix before export than after posting.
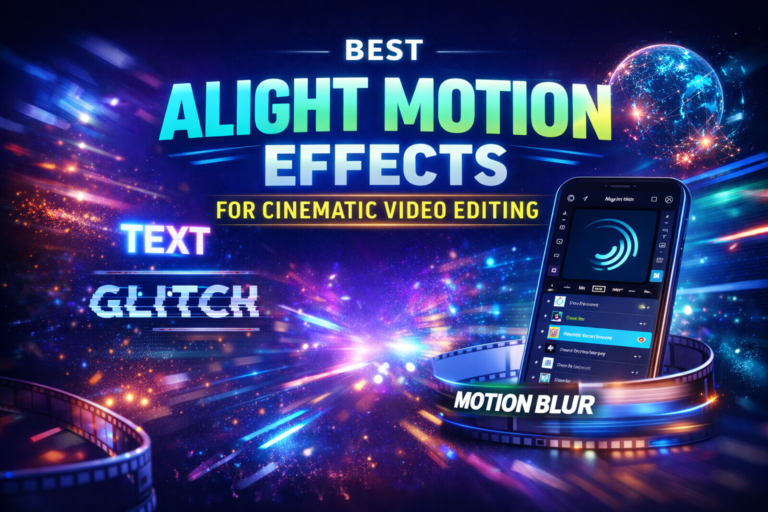
Best effects to use for cinematic edits in Alight Motion
Effects can help, but only when they support the overall mood of the video. The best cinematic effects are usually the ones people do not notice immediately.
Motion blur is one of the strongest options when used lightly. It helps movement feel smoother and more natural.
Soft zoom effects can work well for dramatic emphasis, especially when combined with keyframes and easing.
Light leaks can add atmosphere, but they should be subtle. Too much light leak makes the edit look artificial very quickly.
Color-based adjustments are often more powerful than flashy effects. A consistent tone across all clips can make the whole video feel more cinematic.
Blur transitions, glow accents, and vignette effects can also work, but they should be used with restraint. If the effect is louder than the footage, the edit starts losing its cinematic feel.
Common mistakes that make cinematic edits look cheap
One of the biggest mistakes is using too much zoom. Small, controlled movement looks polished. Constant aggressive zooms make the edit feel overdone.
Another mistake is adding too many transitions. When every cut spins, shakes, blurs, or whips differently, the video loses visual consistency.
Too much motion blur is another common problem. Instead of making the edit smoother, it starts hiding detail and making the footage feel dirty.
Inconsistent color grading also hurts the final result. If one clip is cool, the next is warm, and the next is oversaturated, the edit feels disconnected.
Many beginners also cut too fast. Not every cinematic edit needs nonstop movement. Sometimes holding a shot for an extra second gives the video more emotion and impact.
Another mistake is using effects without purpose. Just because an effect looks trendy does not mean it fits every project. Cinematic edits usually look strongest when every choice supports the same mood.
Best export settings for cinematic edits in Alight Motion
For Instagram Reels, YouTube Shorts, and TikTok, 1080 x 1920 is the safest and most practical resolution. It gives you strong visual quality without overloading the export process.
30fps works well for many cinematic edits, especially when the pacing is slower and more emotional. 60fps is better when you want ultra-smooth movement or when your edit depends heavily on speed and motion transitions.
Keep your quality settings as high as your device can handle reliably. There is no benefit in choosing a very heavy export if the phone struggles, crashes, or creates a broken final file.
Always check the exported version after saving. Sometimes a video that looks good in preview may look slightly different after export, especially with sharpness, brightness, or motion-heavy sections.
Pro tips to make your cinematic edits look more professional
Use fewer effects and focus more on timing. A simple edit with excellent pacing often looks better than a complex edit with weak flow.
Keep your motion small and intentional. Good cinematic movement usually feels controlled, not exaggerated.
Try to maintain one visual identity throughout the video. If the tone is moody, keep it moody. If the tone is bright and emotional, make sure all clips support that feeling.
Let some shots breathe. Not every second needs a cut, shake, or zoom. Stillness can be powerful when placed in the right moment.
Use music that matches the mood of the footage. The right sound can make an average edit feel stronger, while the wrong music can weaken even good visuals.
Review the video as a viewer, not just as an editor. Ask whether the final result feels smooth, clear, and emotionally consistent. That mindset helps you catch things you may miss when focusing only on effects.
FAQ about cinematic editing in Alight Motion
Can beginners create cinematic edits in Alight Motion?
Yes, beginners can absolutely create cinematic edits in Alight Motion. The key is to focus on simple things first, such as smooth keyframes, clean pacing, consistent color, and light transitions. You do not need advanced effects to get a cinematic look.
What effects make videos look cinematic in Alight Motion?
The most useful effects are usually motion blur, subtle zoom movement, soft color adjustments, and clean transitions. Heavy effects can sometimes reduce quality instead of improving the video.
Is 30fps or 60fps better for cinematic edits?
Both can work. 30fps is often enough for story-based cinematic edits and is easier on many devices. 60fps can look better for smoother motion, slow-motion style edits, and more fluid transitions.
How do I make my Alight Motion edits look smoother?
Use easing on your keyframes, reduce excessive movement, apply motion blur carefully, and make sure your pacing feels natural. Smoothness usually comes from better control, not from using more effects.
What is the best resolution for cinematic reels in Alight Motion?
For most creators, 1080 x 1920 is the best resolution for cinematic vertical videos on Instagram Reels, TikTok, and YouTube Shorts.
Final thoughts
Creating cinematic edits in Alight Motion is less about using the most powerful effects and more about making smarter editing decisions. Smooth movement, better timing, clean color, and visual consistency will do far more for your videos than random flashy effects ever will.
If you want your edits to look more professional, start simple. Focus on strong footage, controlled keyframes, natural pacing, and careful export settings. Once those basics are solid, your cinematic edits will instantly start feeling cleaner, smoother, and more premium.